Virginia Beach, with its sunny climate and commitment to renewable energy, is an ideal location for solar power installation. However, many homeowners in the area have clay tile roofs, which can pose unique challenges for solar installation. In this comprehensive guide, we will walk you through the process of installing solar panels in South Virginia on clay tile roofs Beach.
Understanding the Basics
Before diving into the installation process, it’s essential to have a basic understanding of the components involved in a solar power system.
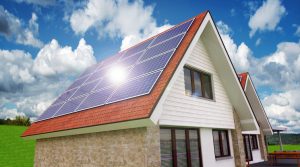
Solar Panels: These are the most visible part of the system, responsible for converting sunlight into electricity.
Racking System: The racking system supports and secures the solar panels to your roof.
Inverter: This device converts the direct current (DC) electricity produced by the panels into alternating current (AC) electricity, which can be used in your home.
Wiring and Electrical Components: These components connect everything together and ensure the electricity flows safely and efficiently.
Monitoring System: This optional component allows you to track your system’s performance and energy production.
Step 1: Roof Assessment
The first step in installing solar panels on a clay tile roof in Virginia Beach is to conduct a thorough roof assessment. A qualified solar installer will inspect your roof to ensure it can support the added weight of solar panels and identify any potential issues.
Clay tile roofs are durable, but they can be more fragile than other roofing materials. Therefore, it’s crucial to assess the condition of the tiles and make any necessary repairs or replacements before installing solar panels.
Step 2: Design and Permits
Once your roof is deemed suitable for solar installation, the next step is to design your solar power system. This design will take into account factors like the number of panels needed, their orientation, and shading issues.
After finalizing the design, you’ll need to obtain the necessary permits from local authorities. Solar installation permits in Virginia Beach may vary depending on your location and local regulations, so it’s essential to work with a knowledgeable installer who can assist with the permitting process.
Step 3: Mounting System
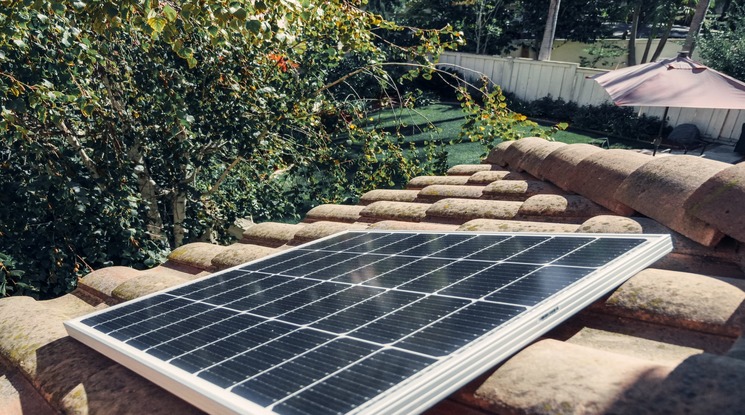
To secure solar panels on a clay tile roof, a specialized mounting system is used. This system is designed to protect the integrity of the tiles and provide a stable base for the panels.
Installers will carefully remove the tiles in the area where the panels will be placed, exposing the roof’s underlayment. The mounting system is then attached to the roof’s structure. The tiles are then repositioned around the mounting brackets, ensuring a secure fit.
Step 4: Electrical Wiring
With the mounting system in place, the next step is to connect the electrical components. This involves wiring the solar panels together and connecting them to the inverter. The inverter is usually installed in a convenient location, such as your garage or utility room.
The inverter converts the DC electricity generated by the panels into AC electricity that can be used in your home or sent back to the grid if you’re part of a net metering program.
Step 5: Connection to the Grid
If you’re planning to connect your solar power system to the grid, you’ll need to work with your utility company to set up a bi-directional meter. This meter will measure the electricity your system produces and feeds back into the grid, as well as the electricity you consume from the grid.
Grid connection allows you to take advantage of net metering, which can reduce your electricity bills by allowing you to earn credits for excess electricity production.
Step 6: System Testing and Commissioning
Before your solar power system is fully operational, it must undergo rigorous testing and commissioning. This involves checking all the connections, ensuring that the system is functioning correctly, and verifying that it meets safety and performance standards.
Once your system passes these tests, it’s ready to start generating clean, renewable energy for your home.
Step 7: Monitoring and Maintenance
After your solar power system is up and running, it’s essential to monitor its performance regularly. Many systems come with built-in monitoring tools that allow you to track energy production and identify any issues.
Regular maintenance is also crucial to ensure your system continues to operate efficiently. This may involve cleaning the solar panels, checking the wiring, and inspecting the mounting system for any signs of wear or damage.
Conclusion
Installing solar panels on a clay tile roof in Virginia Beach is a rewarding investment that can significantly reduce your energy bills while helping to protect the environment. By following the steps outlined in this guide and working with experienced professionals, you can enjoy the benefits of clean, renewable energy while preserving the integrity of your roof. Solar in Virginia Beach is not only a smart financial choice but also a sustainable one, contributing to a brighter future for Virginia Beach and beyond.